Auto-Translate
When it comes to indoor cannabis cultivation, the topic always falls on one subject — light.
Although there are many other environmental factors at play, grow lights bear the brunt of producing lush greenery, plump flowers, and resin-coated buds. Therefore, grow light maintenance should be a top priority.
Read along as we discuss the importance of grow light maintenance and how to maintain your grow lights. Not only will you discover two proven methods, but you'll understand how a proper light meter determines when it's time for a routine checkup.
Contents
Why Grow Light Upkeep is Necessary
Just like a well-tuned engine, grow lights need a bit of attention every so often.
Here are a few examples of the result of neglecting grow light maintenance:
- Reduced yield
- The same electricity bill for fewer light output
- Decreased plant vigor
- Weak stems and branches
- Decreased resistance to pests and disease
Aside from the effect on plants, grow light maintenance is crucial for your safety as damaged and dirty grow lights and ballasts may catch on fire.
As you can see, it's in your best interest to maintain your grow lights to ensure optimal light output, reliable operation, and the safety of yourself and others.
How to Determine When You Need to Perform Routine Grow Light Maintenance
When you step into your indoor garden, it's impossible to determine if your grow lights are emitting sub-optimal light.
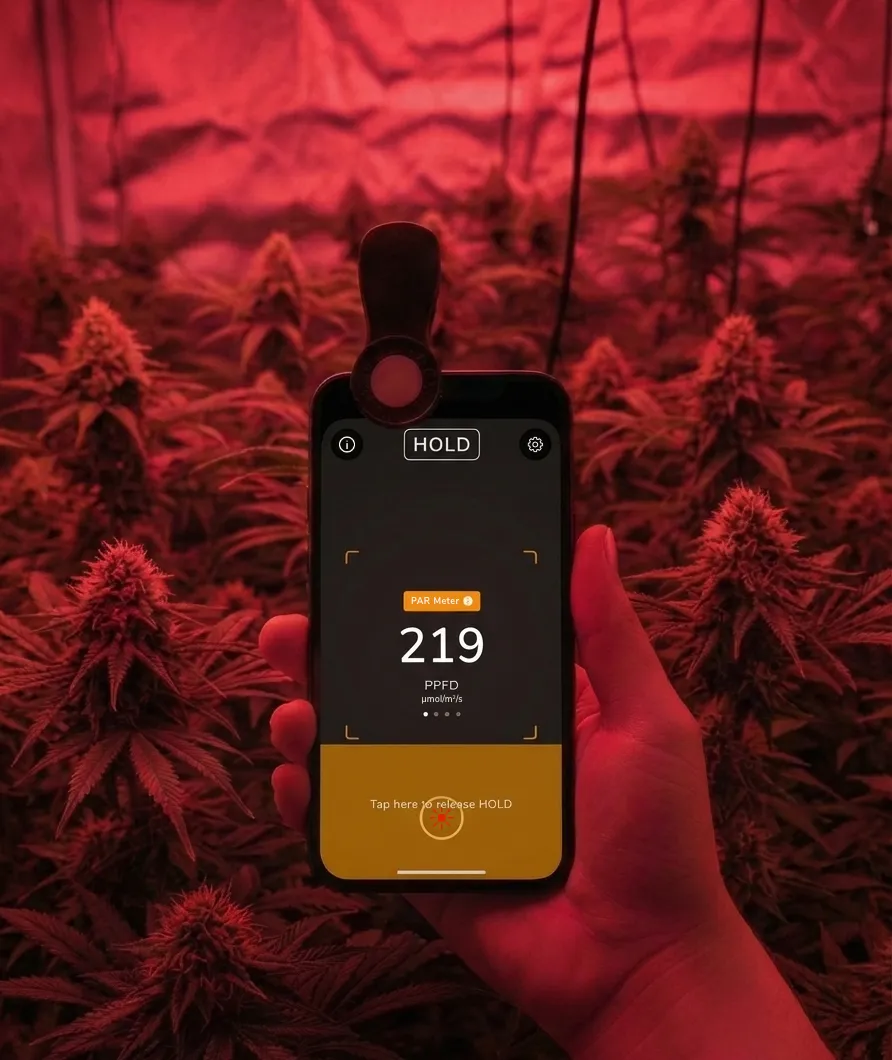
Since your eyes aren't up for the task, the job falls on a light meter's shoulders. So whenever you use a new light bulb, take an initial PPFD meausurement and note down the value along with the date. Now that you have a benchmark of the grow light's maximum light output, you then take the same measurement in the same spot every few weeks of using the grow light.
You'll soon notice your grow lights produce less light over time, thus requiring a bit of maintenance on your end.
How to Maintain Your Grow Lights
Next, let's discuss how to maintain your grow lights.
Luckily for you, each of these maintenance methods is easy to accomplish. Remember, it's easy to delay regular grow light maintenance; however, the health of your plants is in your hands.
Routine Lamp and Ballast Cleaning
One of the best grow light maintenance tips is to clean your grow lights and ballast after each harvest. Cleaning makes sense for any technology of grow light, as even a tiny build-up of dust can lead to measurable loss in light output.
Typically, the indoor growing cycle lasts between 2.5-5-months — depending on plant genetics, if clones were used, and so forth. As such, take the time after harvest as a sort of spring cleaning, if you will.
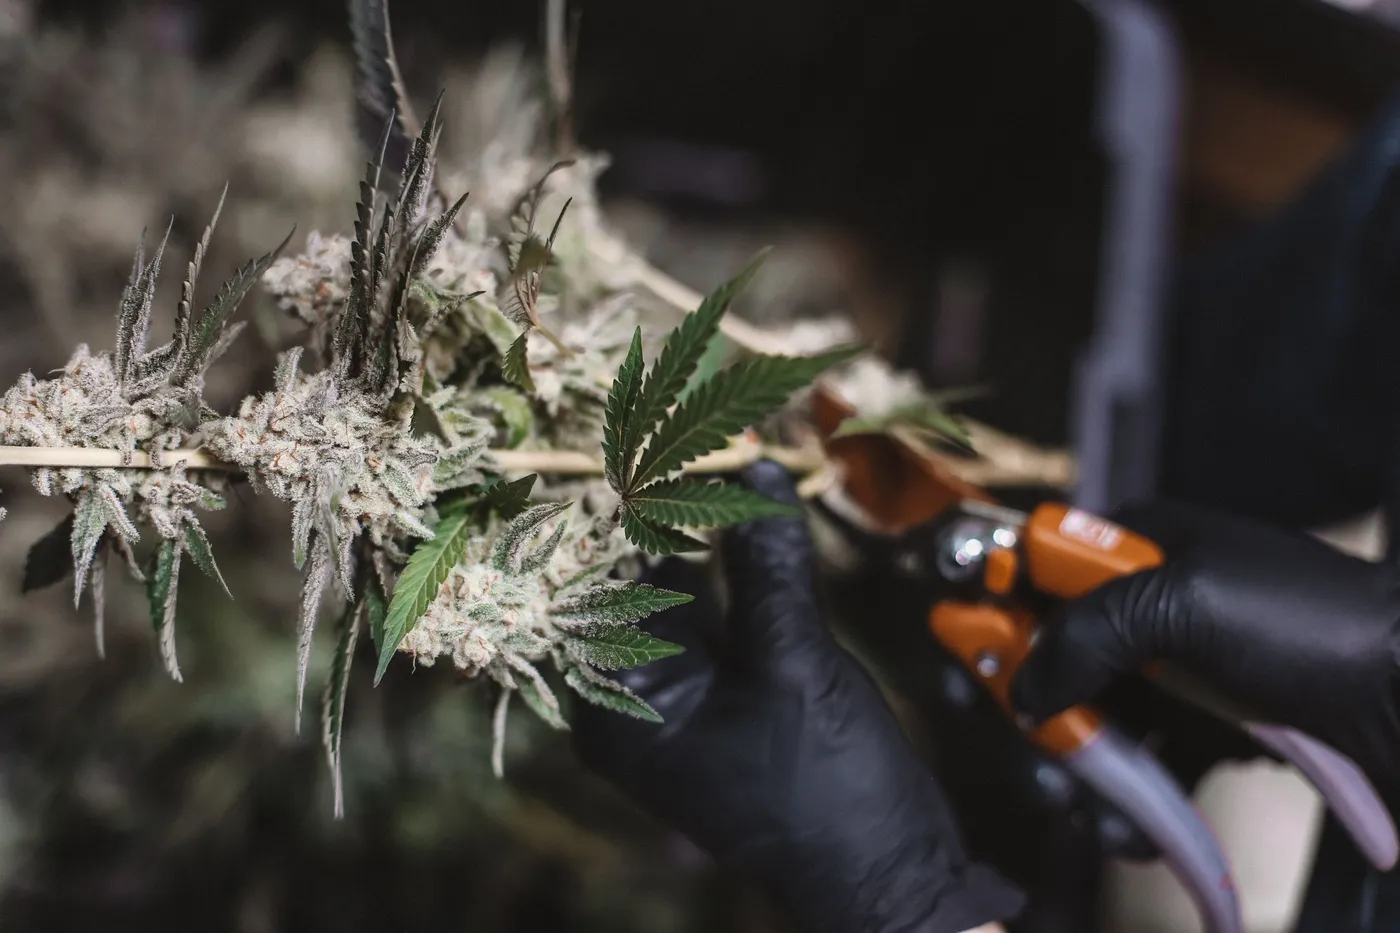
Lamp and ballast cleaning is simple, and you'll be surprised by how much gunk, grime, and dust accumulate on your grow lights.
First, remove the lamp from the hood and look it over for any noticeable damage.
Here's a list of what to look for on HID grow lights:
- Blackened arc-tube in the grow lamp
- Burn marks on the base and socket of the grow lamp
- Bluish-tint (or any discoloration) on the metal components within the bulb
Next, use a non-abrasive cloth to wipe away any dust buildup. Furthermore, never wipe down the base or the socket with a cleaning solution. Remember, you're dealing with electricity, so leave the glass cleaner in the cabinet where it belongs.
Now that the bulb is refreshed, it's time to take a look at the ballast. Look over the ballast, and if possible, replace the external heat sinks. Remember, heat sinks provide the barrier between the ballast’s inner components and the grow room's environment.
If heat sinks become damaged, the ballast’s internal components, such as the driver, may become damaged and subsequently overheat. In the event of an impaired driver, your grow light system's lifespan will be drastically reduced.
By simply cleaning off the dust on the bulb and replacing the heat sink on the ballast, your grow lights will be prepared for the next growing season.
Scheduled Lamp Replacement
As with all things in life, everything has a lifespan.
As you might have already read in our article on light output depreciation of grow lights, especially HID and fluorescent grow lights have a significant drop in light output during their specified lifetime. Even to a point, where it makes no economic sense to keep a grow light active due to decreasing efficiency.
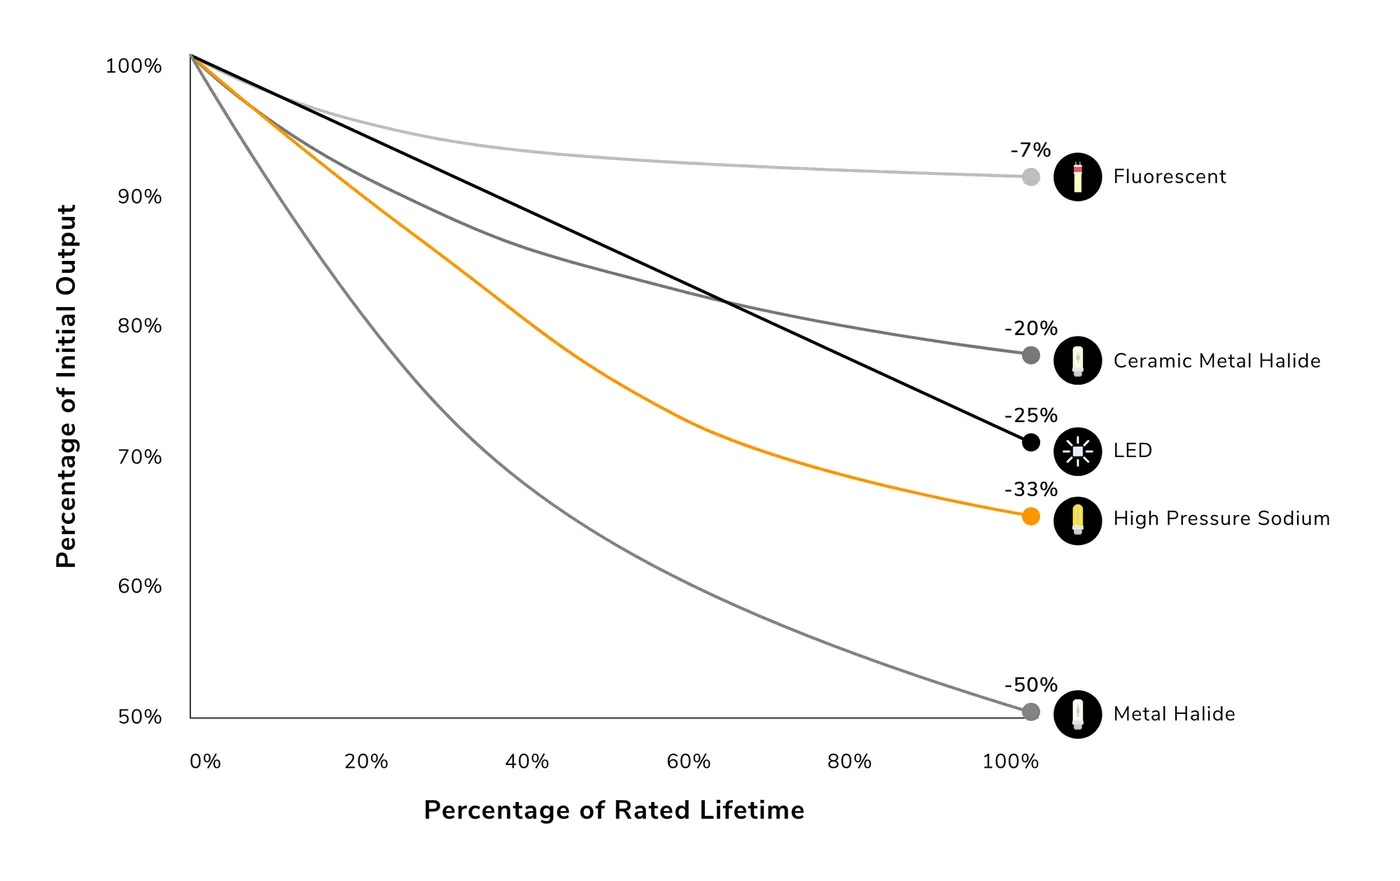
In the case of grow lamps, it may be challenging to determine when you must replace a grow light. The rule of thumb is to replace grow lamps every 9-12-months. However, the rule of thumb is an estimate.
Therefore, it's best to use a light meter to determine when a lamp needs to be replaced. If the light output has dropped below a certain threshold, you can quickly perform the scheduled lamp replacement.
Once you've determined it's time to replace your grow lamp, make sure you store the used bulb in an adequately marked package. If a new grow light malfunctions, you can use the used bulb as a spare until you buy a new lamp.
Tips When Performing Grow Light Maintenance
Before you begin replacing a lamp or cleaning a grow light system, here are a few tips to ensure your safety:
- Always unplug the grow light system from the primary power source
- Never touch the grow lamp after powering down the light (it's hot)
- Never use your eyes to determine if grow lights need to be cleaned or replaced — that's the job of a proper light meter
- Follow the manufacturer's instructions when replacing and cleaning grow lamps
More Than Just a Gut Feeling
By using our accurate light meter app Photone, you'll have objective and actionable results at your fingertips.
Less light output means unhappy plants that can't reach their potential. Furthermore, your wallet will feel the burn as you continue to pay more money per useable light unit. If you're ready to optimize your garden in an instant, look no further than our all-in-one light meter app.

 Share This


